Indulge in the perfect fusion of art and appetizers with a DIY resin art charcuterie board. 🖼️🍇 It's a delightful way to elevate your hosting game and impress your guests. Here's how:
✅ Materials You'll Need:
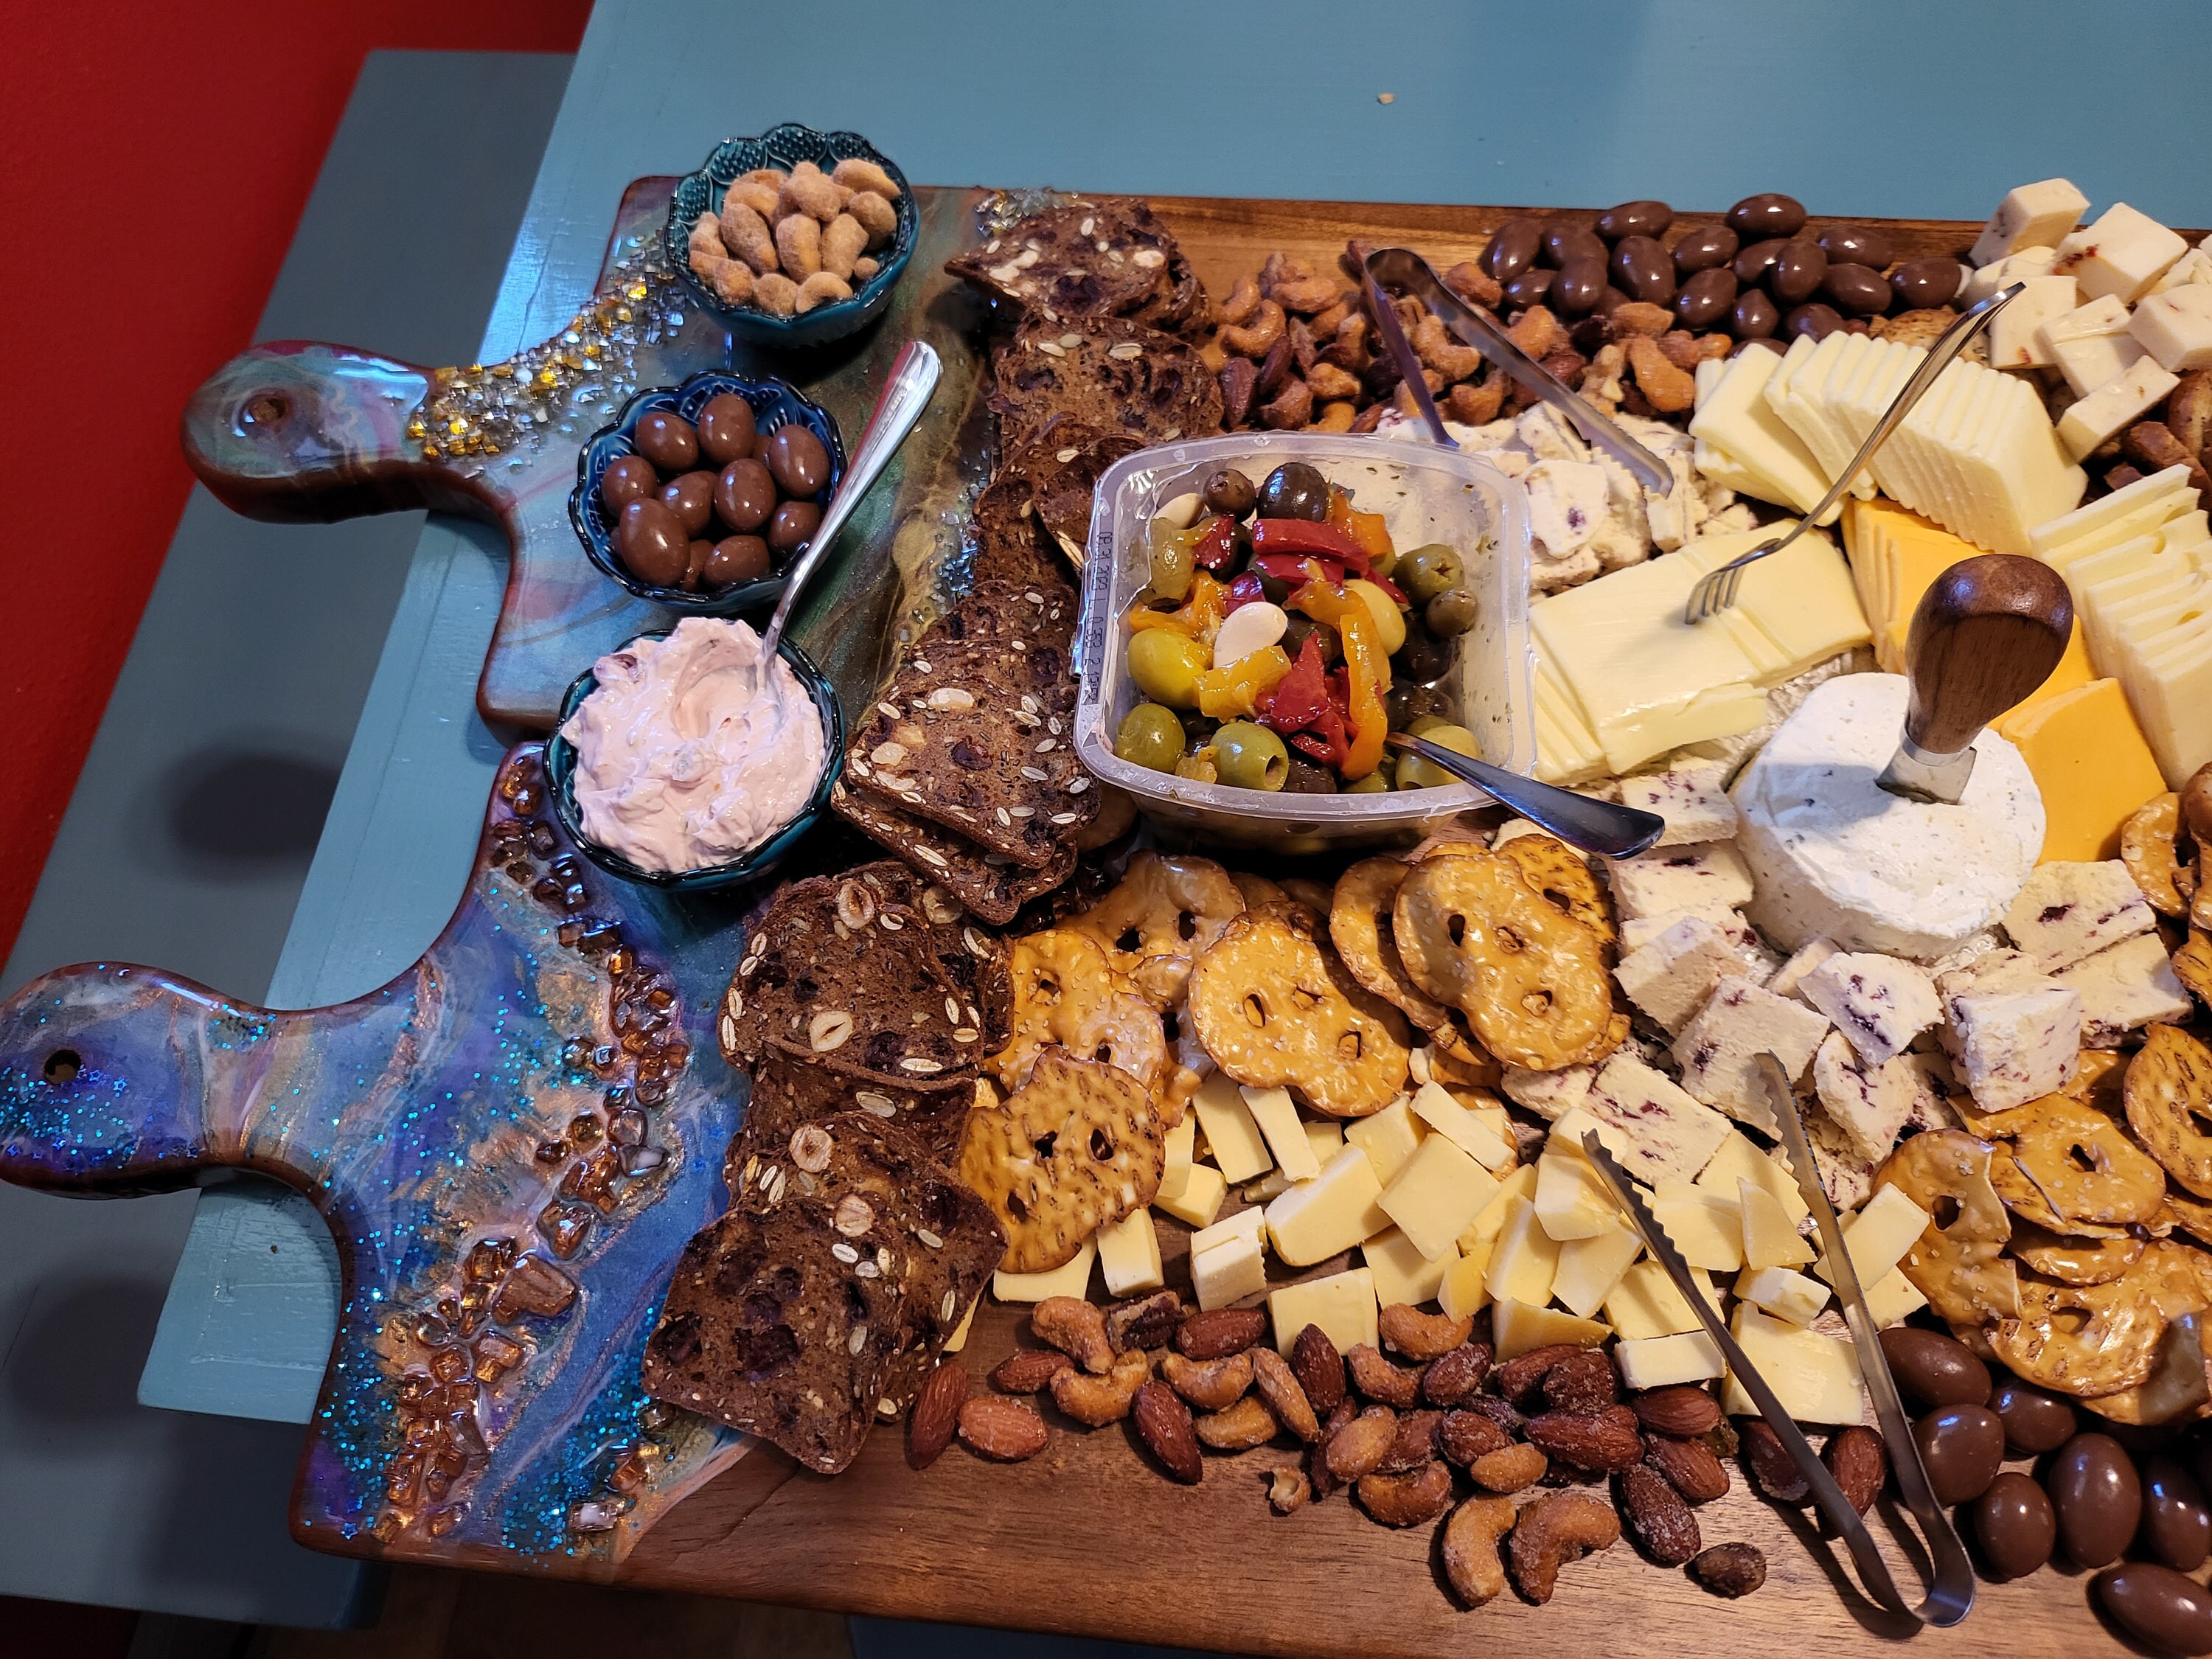
- A wooden charcuterie board
- Epoxy resin and hardener
- Resin pigments
- Mixing cups and stir sticks
- Heat gun or torch
- Safety gear
✅ Step 1: Prep Your Board Choose a wooden charcuterie board as your canvas. Ensure it's clean, dry, and level for a smooth resin pour.
✅ Step 2: Mix Your Resin Follow the manufacturer's instructions to mix your epoxy resin and hardener. Slowly stir, avoiding air bubbles.
✅ Step 3: Add Color Get creative with resin pigments. Mix and match colors to achieve the look you desire. Will it be a vibrant swirl or a subtle blend? The choice is yours!
✅ Step 4: Pour with Care Gently pour the resin mixture onto your charcuterie board, spreading it evenly. Tilt the board or use a spatula to cover the entire surface.
✅ Step 5: Create Magical Effects While the resin is still wet, you can experiment with different tools to create stunning effects—swirls, waves, and textures, oh my!
✅ Step 6: Eliminate Bubbles Use a heat gun or torch to remove any pesky air bubbles. Watch as your board becomes crystal clear.
✅ Step 7: Let It Cure Patience is key. Allow your board to cure per the manufacturer's instructions, usually 24-72 hours.
✅ Step 8: Prepare a Feast Once your resin art charcuterie board is ready, arrange your favorite cheeses, meats, fruits, and nuts. 🧀🍓🥖Voilà! Your resin art charcuterie board is not only a feast for the taste buds but a feast for the eyes. Share your creations with friends and be the host(ess) with the most(ess)! 🌟🍷#DIYResinArt #CharcuterieBoard #ElevateEntertaining #CreativeCrafts #PinterestInspiration 📌